
Built-In Kegerator Installation & Maintenance
Posted by Ron on 21st Mar 2023
A built-in kegerator is a nice and elegant solution for those who enjoy having a fresh cold pint of draft but don’t want to leave the comfort of their home.
Sure, a standard kegerator on wheels may also solve the problem – however, its own problem is that it does not blend in with your interior as seamlessly as the built-in one does.
Here in this article, we explore the intricacies of built-in kegerators and what makes them so popular among draft beer aficionados.
What Does It Mean for a Kegerator to Be Built-In Capable?
For a kegerator to be built-in capable, it takes a few things. First of all, it has to be a built-in fan to allow for zero-clearance installation. Then, it has to be the lack of castor wheels. Finally, it’s the right width (typically, built-in keg coolers are either 15 inches wide or 24 inches wide).
As a rule, these kegerators would be marked as “ undercounter kegerators” to distinguish them from freestanding models.
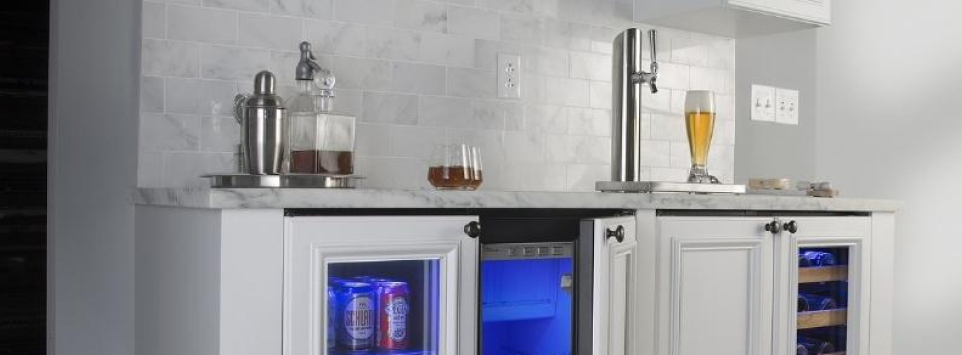
Indoor Built-In Kegerators
If you’re thinking “What’s the best kegerator for home use?”, go with an indoor variety. This is the best home kegerator since it’s designed specifically to fit into most interiors and is easy to install.
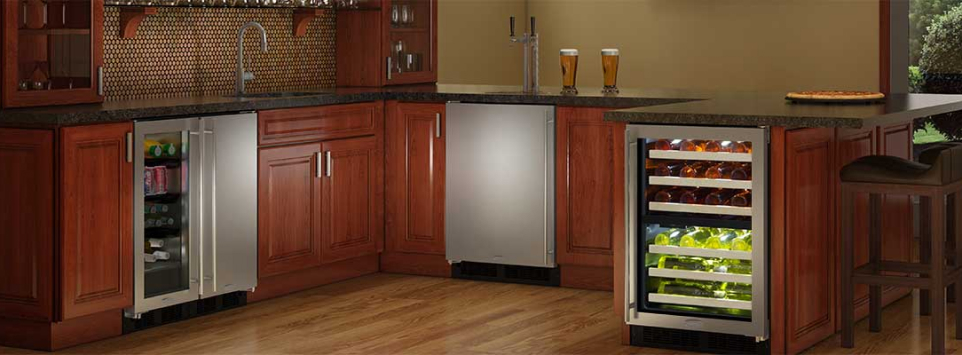
Outdoor Built-In Kegerators
An outdoor built-in kegerator is also a thing, although they may be slightly more difficult to install. A built-in outdoor kegerator can fit nicely in a bar in your pool area, for example.
Best Outdoor Built-In Kegerator
The best outdoor built-in kegerator would be the one that has removable castor wheels, which makes it easier to move around.
How to Install a Built-In Kegerator
Here’s a quick guide on how to seal a built-in kegerator and set it up.
- Guide the translucent hose through the kegerator opening (if you have an island, guide it through both openings). If mounting to a countertop, secure your tower using the four long bolts and nuts and two rubber washers. If mounting directly onto your kegerator, use the four short bolts and metal washers
- Screw the tap handle onto the keg tap and fasten the keg tap to the tower by rotating counter-clockwise
- Locate the translucent hose connected to the keg tower and attach it to the keg coupler
- Connect the keg coupler to your keg by pushing down and twisting clockwise to lock it in
- Attach the regulator to the CO2 tank, using an adjustable wrench to avoid leakage
- Place a metal fastener around the neck of the red hose and attach the hose to the nozzle of the regulator. Tighten the fastener using a flathead screwdriver. Place another metal fastener around the other end of the red hose and attach it to the nozzle on the keg coupler. Tighten the metal fastener
- Twist counter-clockwise to open the CO2 tank
- Unscrew the pressure valve until it is loose and then re-screw until the pressure gauge reads 12
- Place your CO2 tank onto the shelf and then lift the keg into the kegerator
- Tap your keg by pulling down on the black lever of your keg coupler. Make sure your keg completely cools before use
That’s how you set up a kegerator! You can now pour yourself a fresh cold pint, you deserve one!. If you’re into DIY projects, you can actually build your own kegerator by converting an old fridge using a kegerator conversion kit – here’s our guide on making a kegerator.

Built-In Kegerator Maintenance
A built-in kegerator requires no more and no less maintenance than a standard draft beer dispensing system. You have to remember to clean your beer lines once every 2–3 weeks (or every time you change a keg, depending on which comes first). We have previously posted a detailed guide on how to clean the lines in a kegerator - be sure to read it as well.