Some people prefer to buy ready-made kegerators and that’s perfectly fine. But, since you’re here, you must be looking for something special, and we’ve got it - a solid fridge kegerator conversion kit for 1 beer line.
As one of the leading distributors of beer equipment and parts, Beverage Craft offers a wide range of door mount kegerator conversion kits for your draft beer and homebrewing needs.
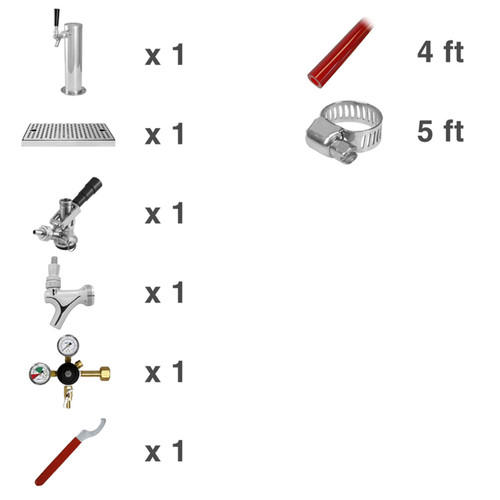
This particular 1 tap kegerator conversion kit features all the basic components you will require for building a fine kegerator.
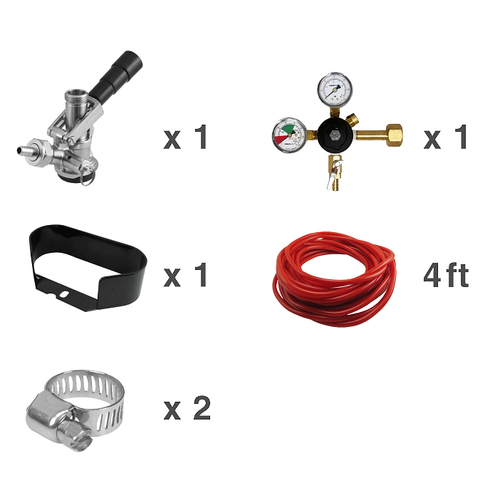
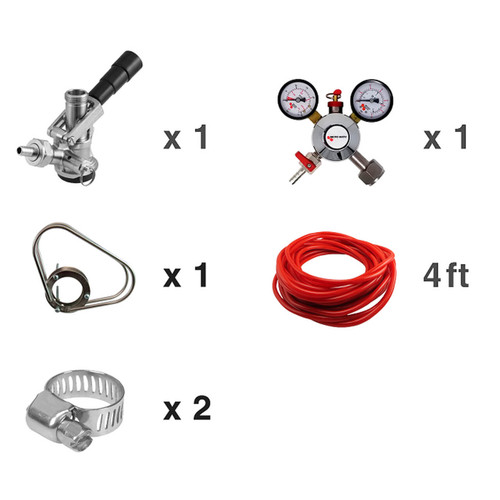
Fridge to Kegerator Conversion Kit Includes
- Primary CO2 regulator (60 PSI by TapRite)
- Domestic faucet (polished stainless steel)
- D type keg coupler (stainless steel)
- 5 1/8" shank with 3/16" bore & nipple (stainless steel)
- 6" x 5" wall-mount drip tray, no drain
- 4ft of 3/16" vinyl tubing
- 5ft of 1/4" braided vinyl tubing
- 4 of 5/16"-3/8" stainless steel gear clamps
- Tailpiece (3/16" hose barb for beer nut)
- Swivel hex nut
- Beer washer
- Red faucet wrench
Please note: this fridge to kegerator conversion kit does not include a CO2 tank but you can always purchase one easily from Beverage Craft.
Using a Conversion Kit to Build a Kegerator
The horizontal split refrigerator is arguably the most convenient type for kegerator conversion, and the whole process will require only basic DIY skills. Here are the main steps:
- Get the refrigerator (ideally, a used one of yours or purchased from eBay/garage sale/friends)
- Check the depth and height of the fridge to make sure your keg(s) will fit
- Using a drill with a hole saw, drill into the desired location in the fridge door sawing all the way through the door itself and the plastic liner on the inside
- Place the shank (from the conversion kit) through the hole you’ve drilled and tighten it with a hex nut
- Attach the tap faucet and tighten with a spanner wrench
- Attach the beer line hex connections to the back of the shank on the top of the keg coupler
- Attach the air line to the nipple on the coupler and the one on the regulator
- Tighten the hose clamps with a flathead screwdriver
- Attach the gas regulator to the CO2 tank (sold separately) and tighten with a hex wrench
- Open the CO2 tank and attach the keg coupler. Adjust the pressure to 10-12 PSI and turn it on
If you have the best kegerator conversion kit from Beverage Craft, you can build a kegerator in a number of different ways and this is just one of them. Be sure to check out our blog for more useful information and homebrewing tips.


